What is the Panhard bar, and what is it’s function?
Because the FJ Cruiser and other Prado 120/150 frame based vehicles use coil springs and a 4 link suspension setup, there is, based on the flex of the 4 link joints, nothing keeping the axle centered under the vehicle.
Cue the panhard bar. A bar connected to the top left side of the axle to a mount on the frame on the right hand side. In the Prado 120/150 case, this bar consists of a hollow tube, with rubber joints on each end. It measures 40″ from mounting hole to mounting hole and sits at about a 0 degree angle on a stock – i.e. non-lifted- vehicle. It’s sole job is to keep the axle centered under the vehicle.

Now that we know that, lets look and see what happens to the panhard bar and geometry when we lift the vehicle.
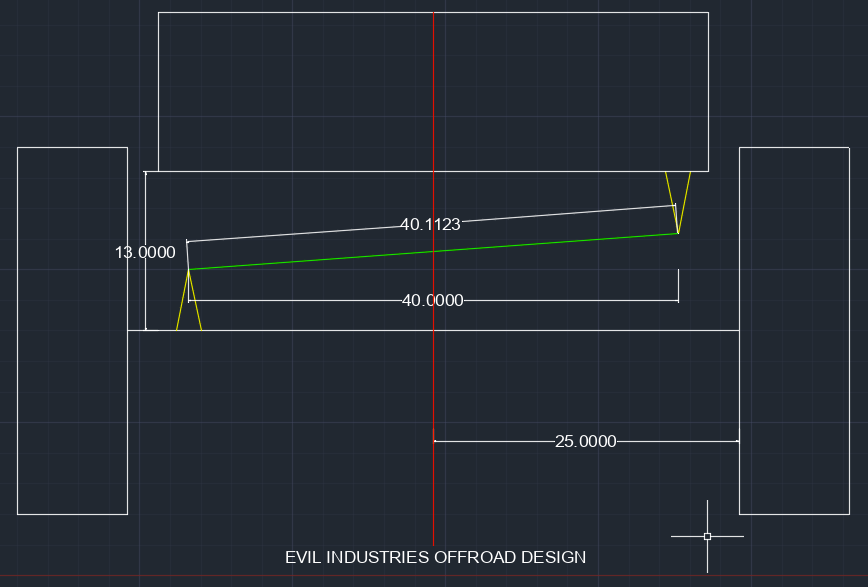
In the diagram above, I’ve assumed a few baseline measurements. The distance between the axle and body is exactly 10″, and the vehicle centerline to the inside of the tire is exactly 25″. These are reference measurements only, for ease of calculation.

Now, lifting the truck 3″, will give us the following dimensions:
-The Panhard bar now sits at a 4 degree angle;
-The distance between the two panhard mounts is 39.88″,
-The distance between the centerline and the inside of the tire is 25.112″
This indicates that the axle has shifted to the right, by .112″
The common fix for this is purchase and install an adjustable Panhard bar. Installation is easy, with the vehicle on jack stands under the axle, you measure and mark the center of the frame and axle, and with the use of a plum-bob, you extend the bar so the axle is centered with the frame again.
Doing that will give you the following geometry:
With the bar extended by roughly .1123″, the axle will be centered under the frame again. Simple as that, and all will be well. Or is it??
We have to consider something else when we’re dealing with a panhard bar and lift. The panhard bar, in a perfect world, sits at 0 degrees, or close to level. Why? The answer is simple, to minimize body-to-axle-shift when the suspension is compressed and extended.
Let’s say, the 40″ Panhard bar is the radius of a circle, and the left side of the panhard (the axle side) is the center of the circle. The right side of the panhard will travel along the circumference of this circle as the suspension is compressed and extended. By measuring the lateral travel difference between a maximum given up movement and down movement, we can see how much the axle can shift.
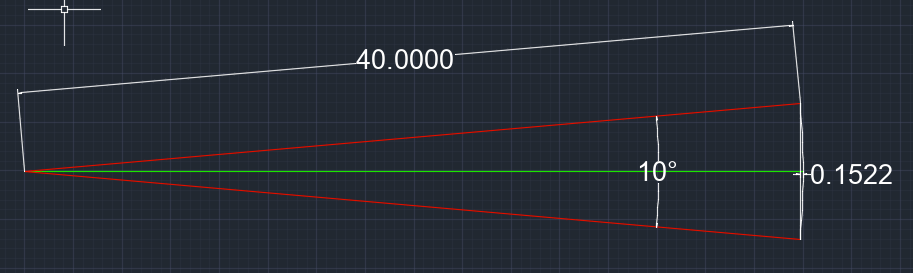
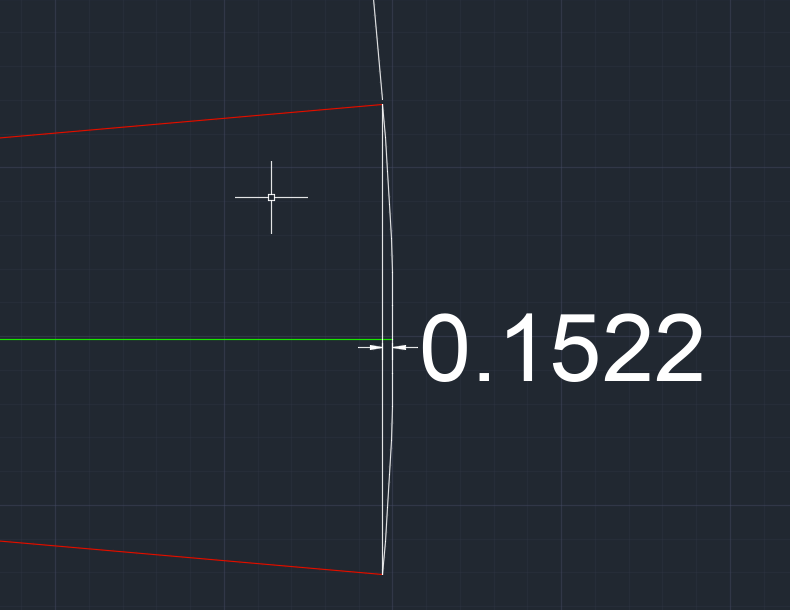
The image above represents a 40″ panhard, sitting at 0 degrees, moving 5 degrees up, and 5 degrees down. The distance of axle shift is measured at .01522″, not much at all.
Now, let’s see what happens with a bar that is at a 4 degree neutral, and adjusted by extending it .1123″ as found above.
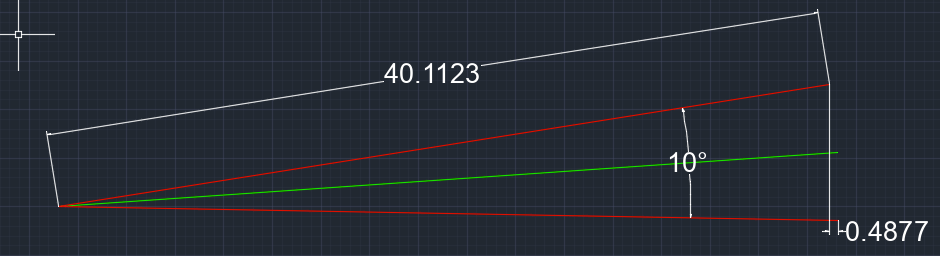
That same suspension travel, with an extended panhard to center the axle, results in 3 times the axle shift over 10 degrees of travel!
Conclusion.
While an extended panhard bar seems to fix the problem of the off centered axle as a result from suspension lift, the fix only applies when the vehicle is static.
Once things start moving, under dynamic conditions, the problem becomes even worse than it was when we started! The rearend moves exponentially more than it did when it was stock, which results in overall reduced driving performance and predictable handling, especially on a vehicle with softer suspension, and like a lot of us – absent sway bars.
The solution.
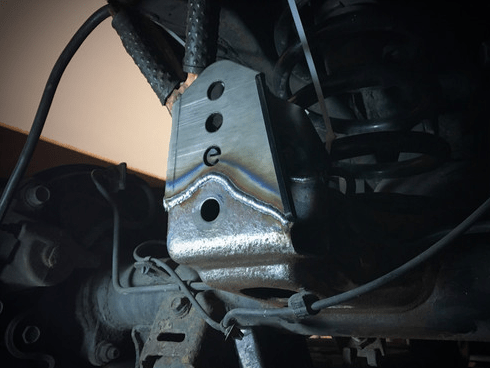
Panhard correction kit. A simple bracket that welds on the existing panhard bracket on the axle, raising it up to allow for a 0 degree (or close to) panhard angle. And with a properly corrected panhard bar, an extension shouldn’t be needed anymore!
I’ve got a panhard correction kit on order from SRQ Fabrications, and I hope to be able to install it in the next week or so. It shouldn’t take more than an hour or so to weld on.
